
Need help ?Address: 16 Boulevard Charles Nedelec,
Marseille, 13001 Email: info@acacuss.com Phone: (33) 782 552124
Marseille, 13001 Email: info@acacuss.com Phone: (33) 782 552124
Kostenloser Versand für alle Bestellungen im Wert von €155.99 EUR
 Best Sellers
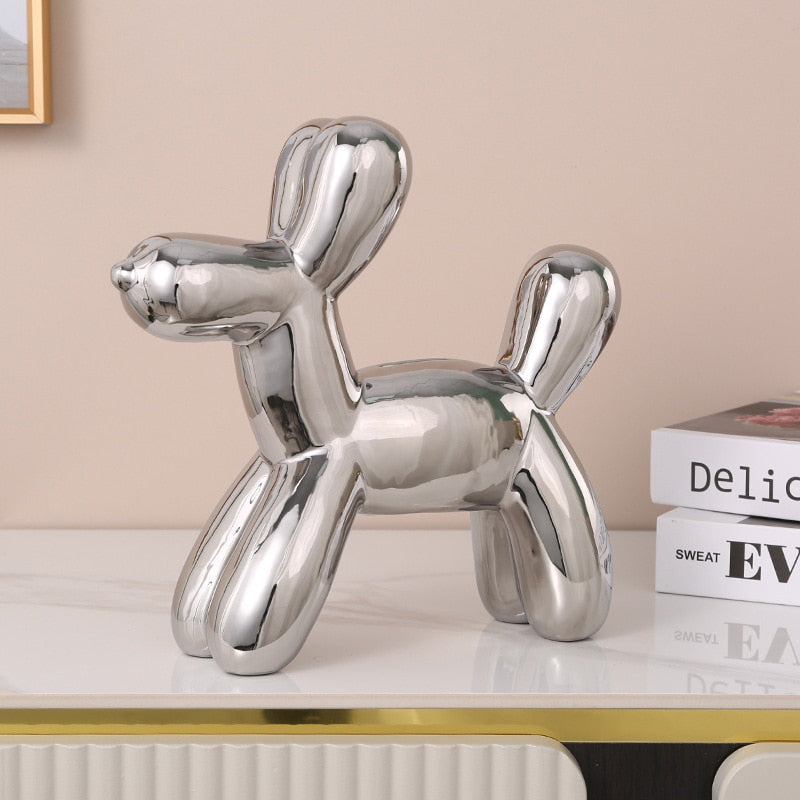
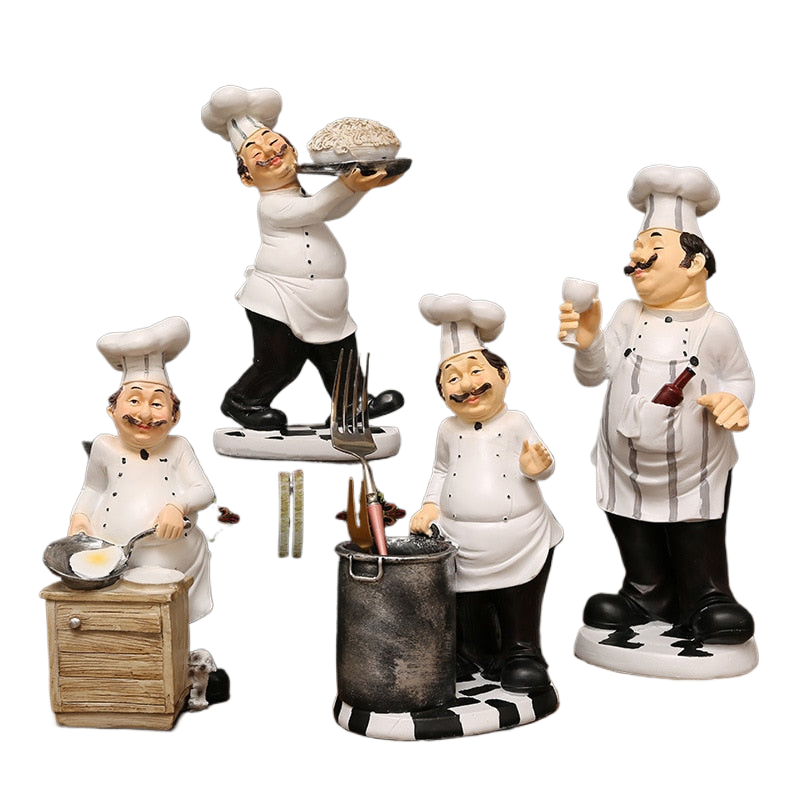 Figuren
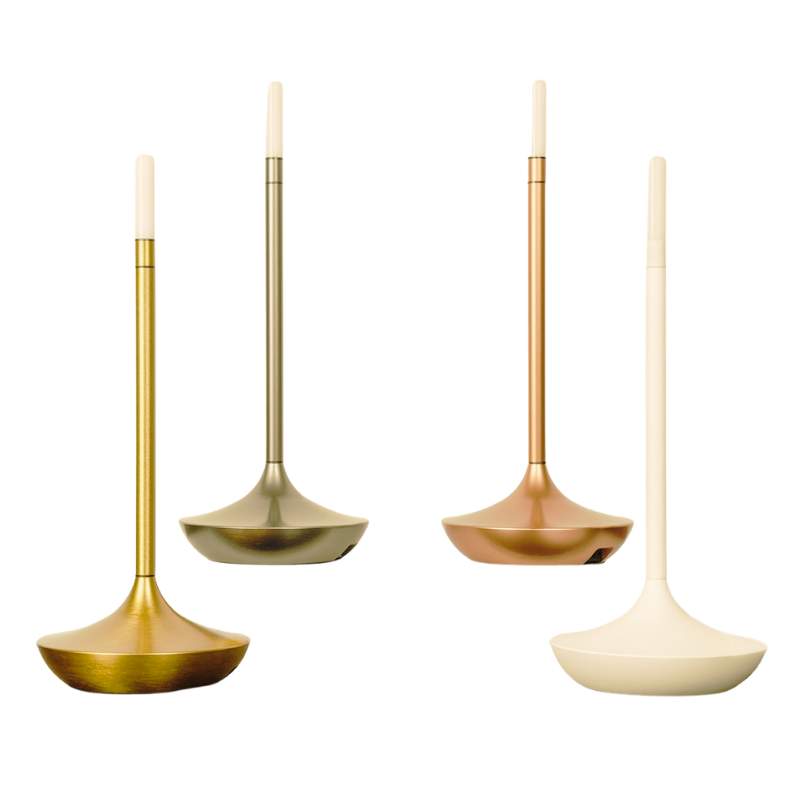 Tischlampen
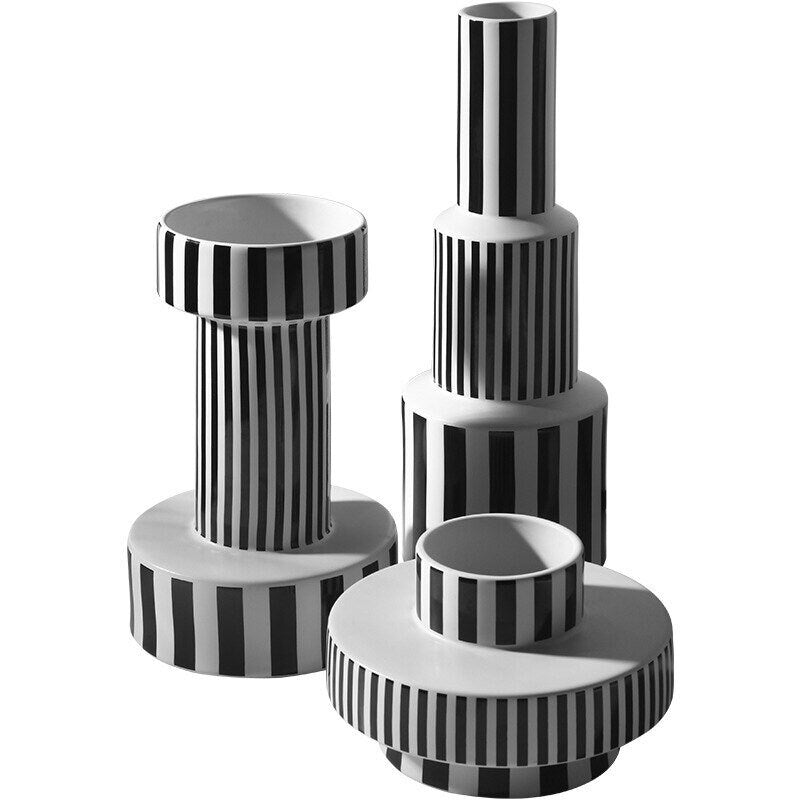 Keramik Vasen
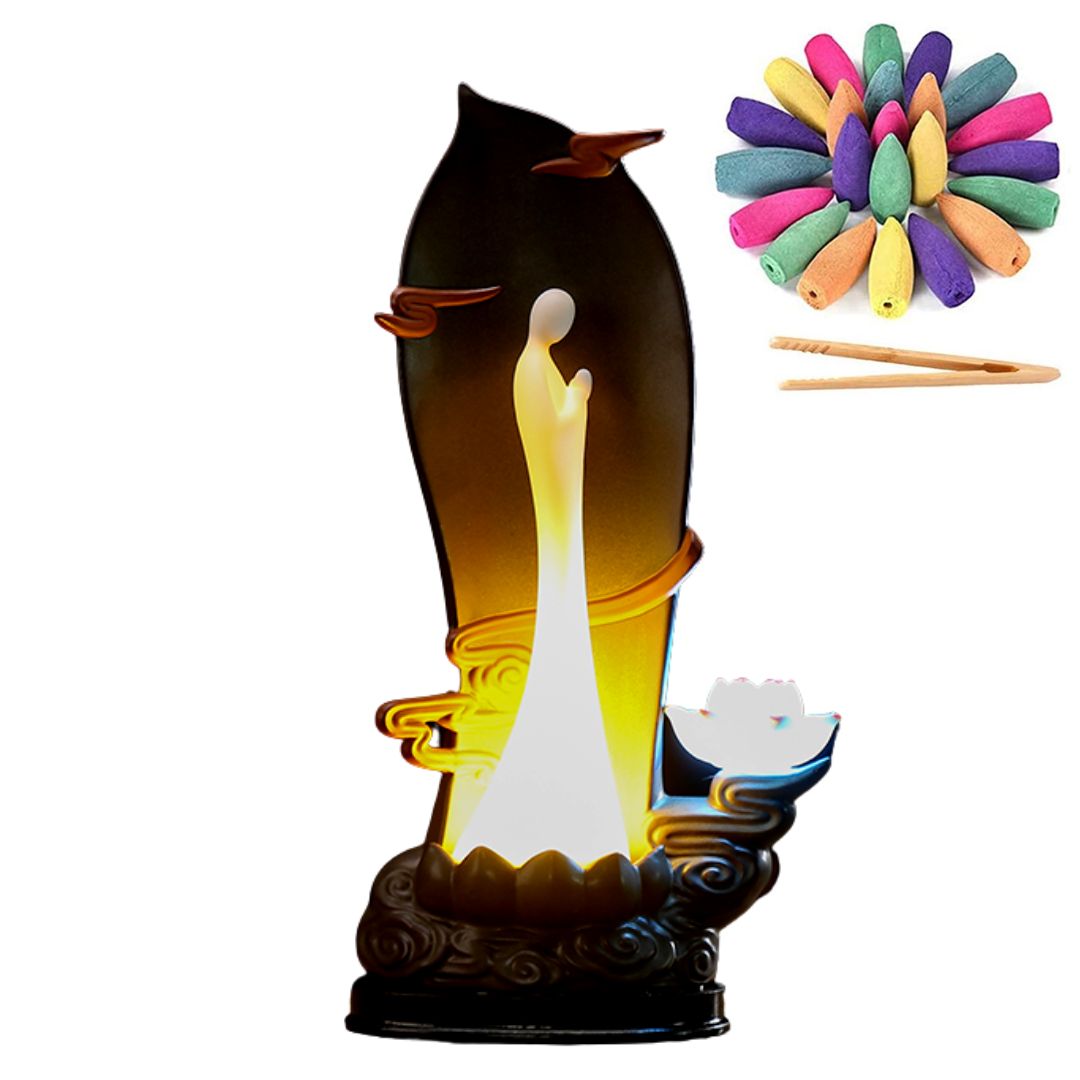 Räuchergefäße
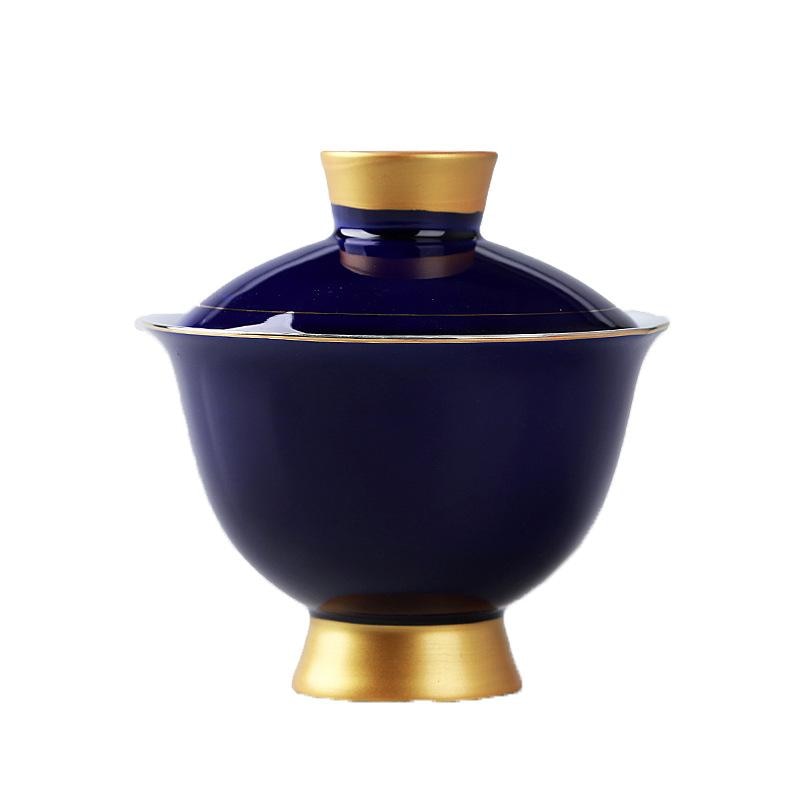
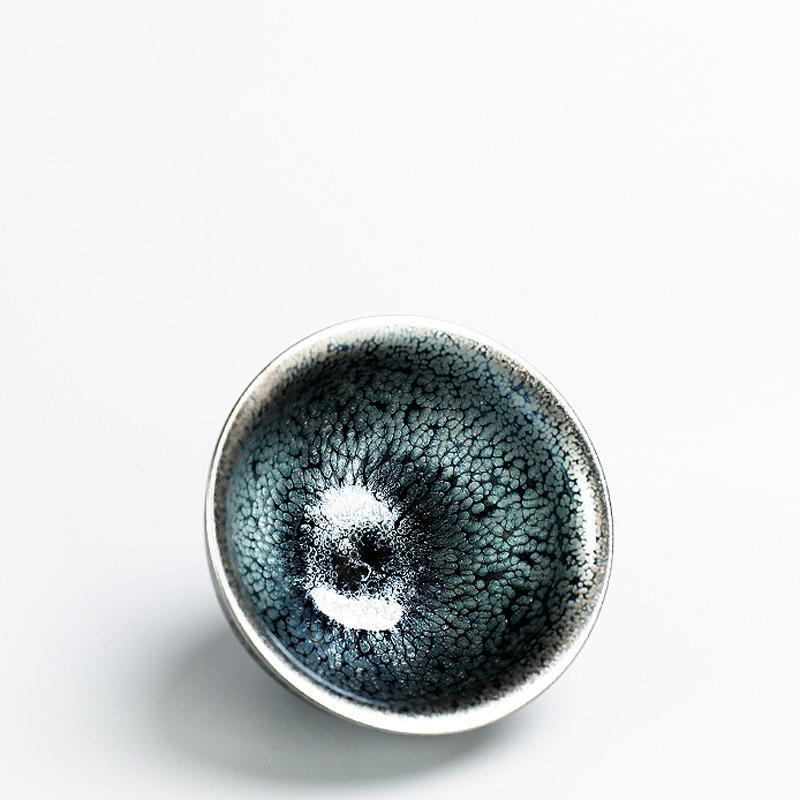
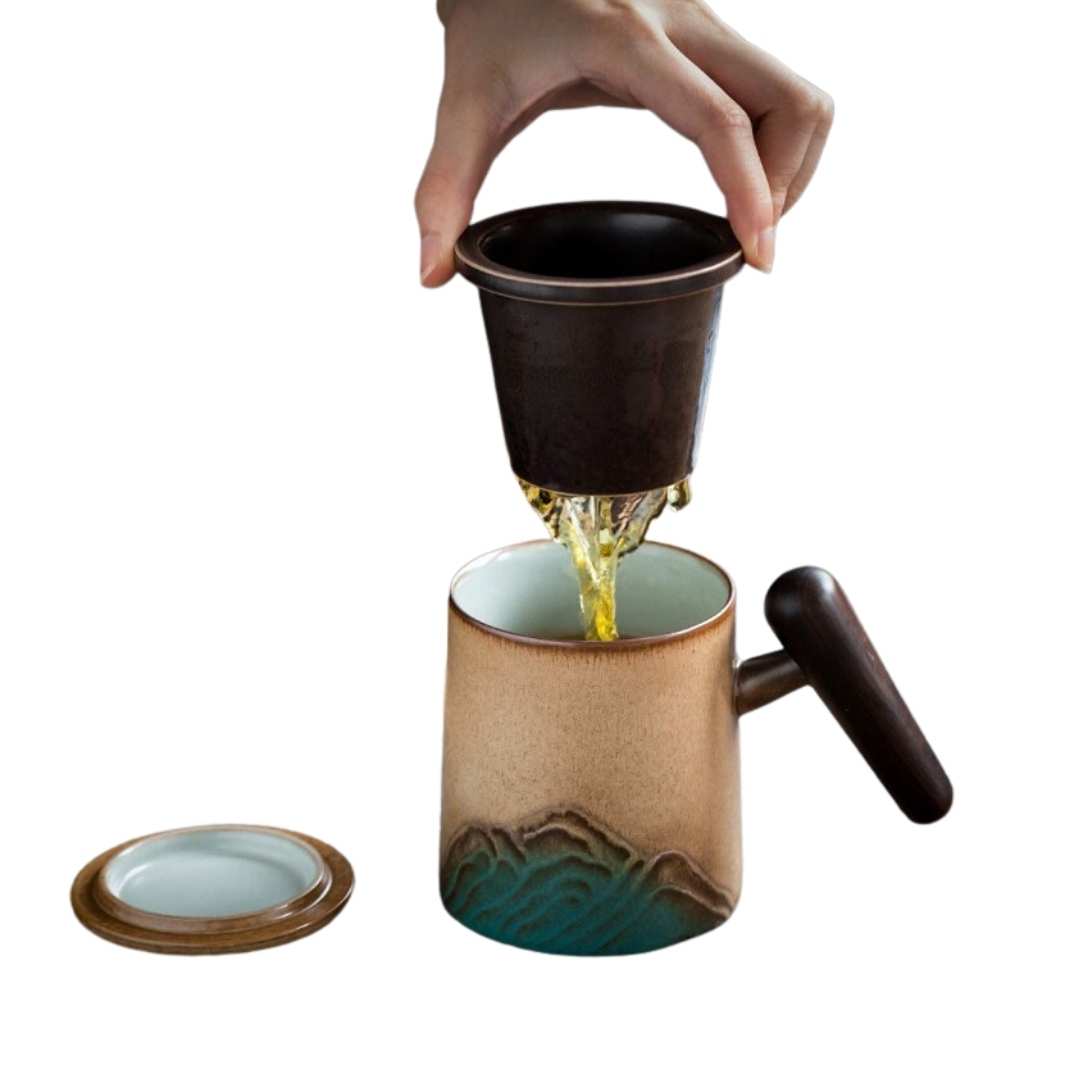 Teetasse
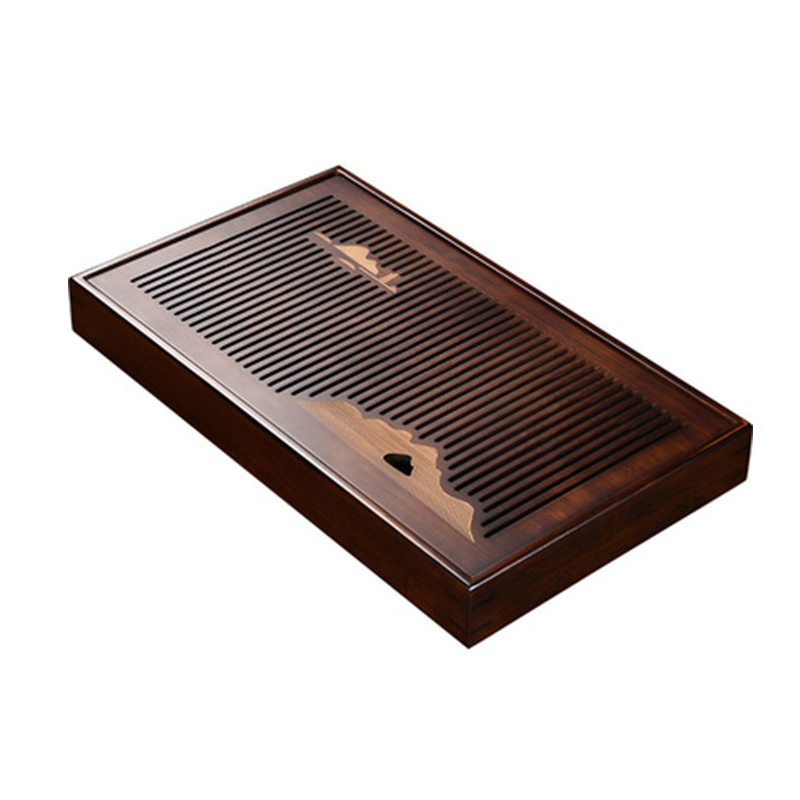 Teetablett, Gongfu Holz-Teetablett-Set
 Tee-Haustiere
 Wohnkultur
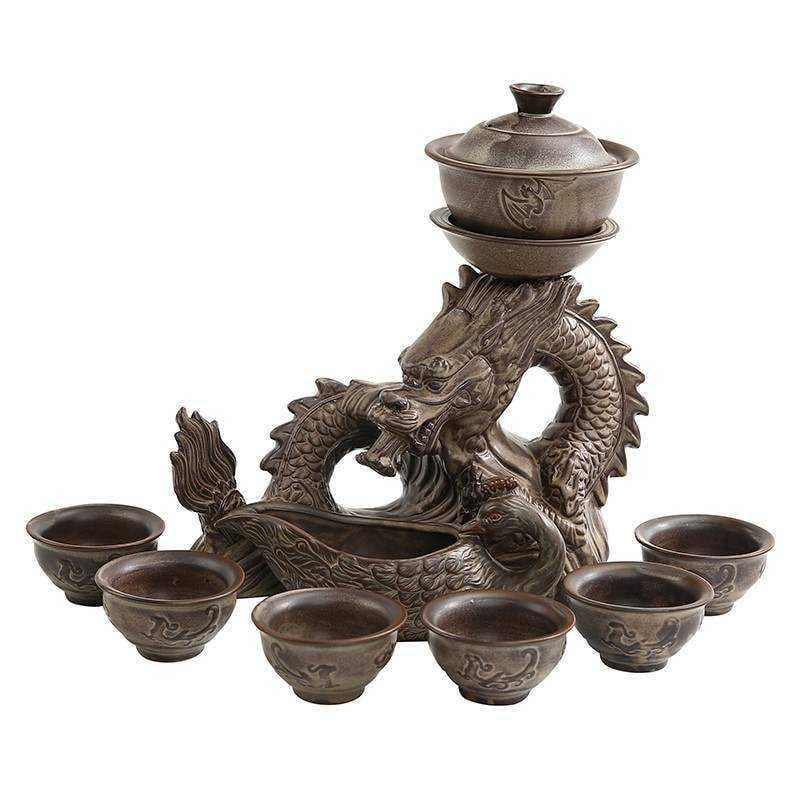
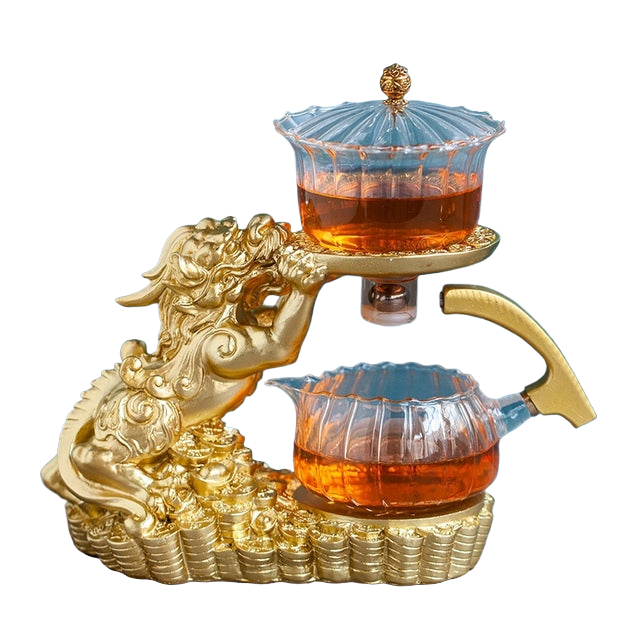 Gongfu-Teeset
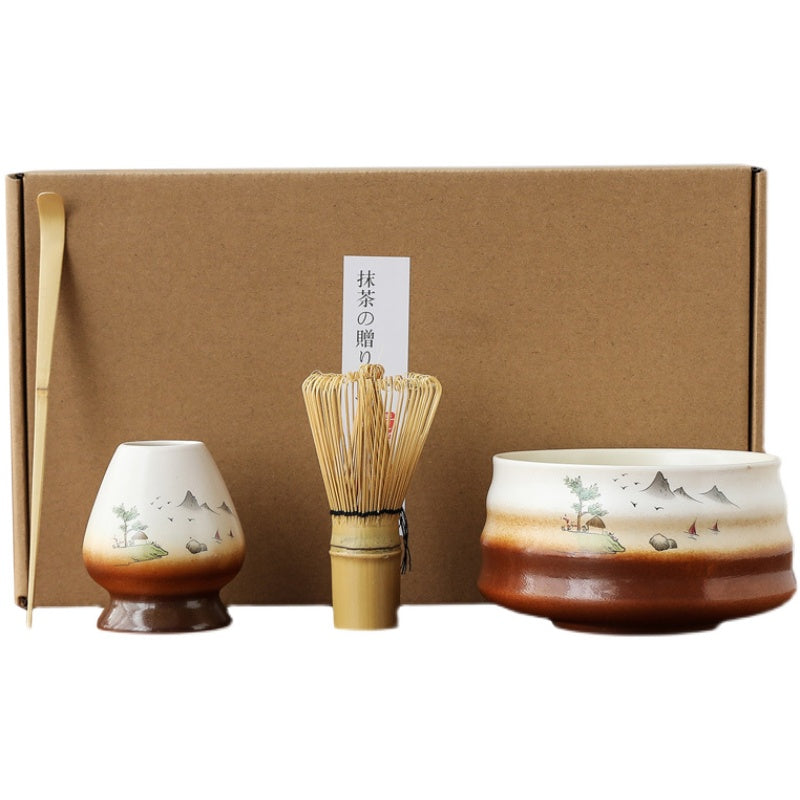 Matcha-Set
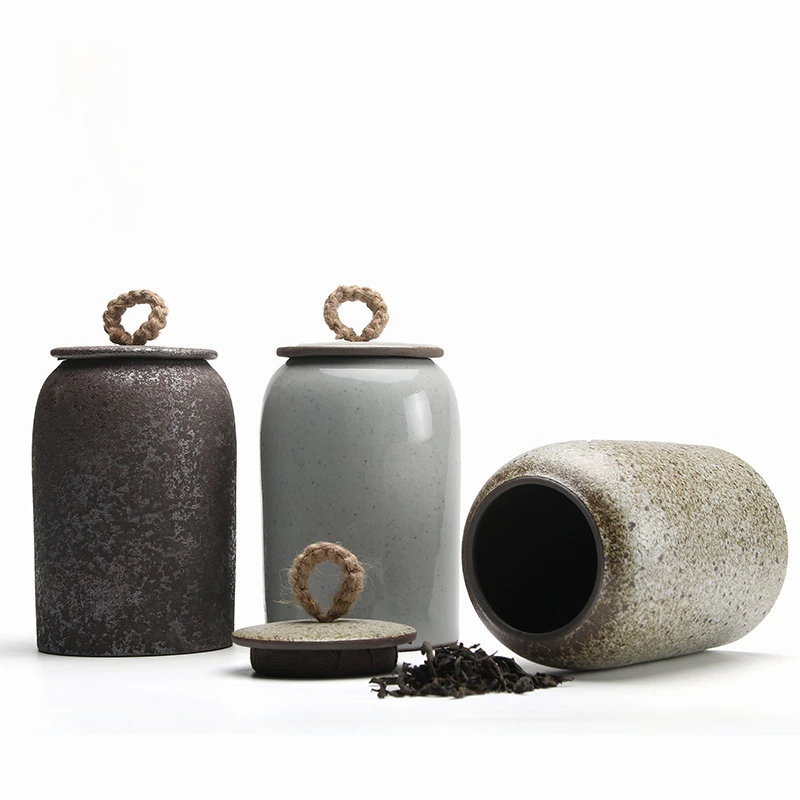 Kanister und Behälter für Tee, Kaffee, Zucker
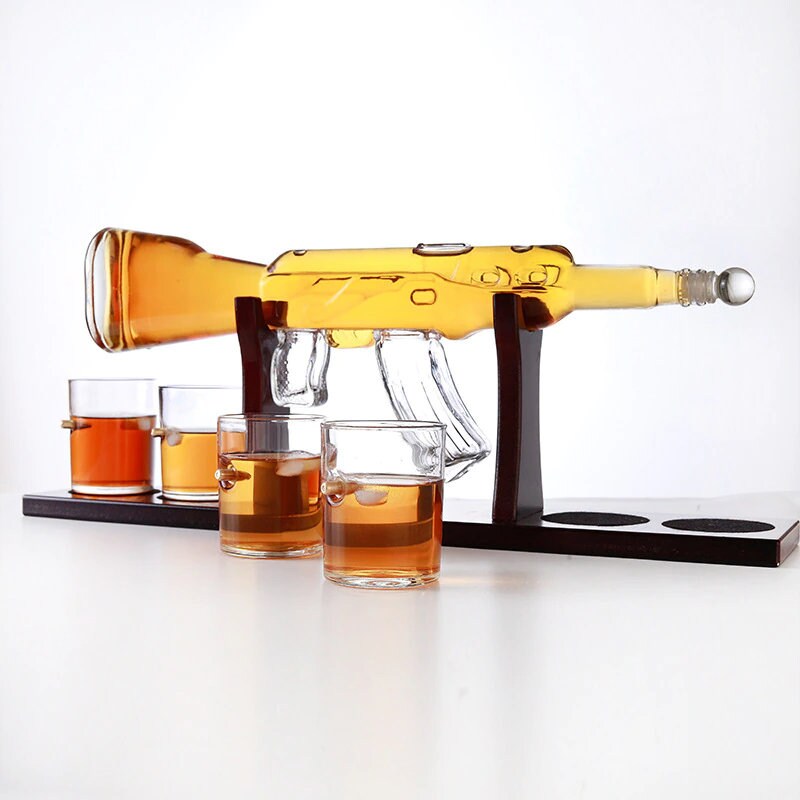 Whisky Karaffe
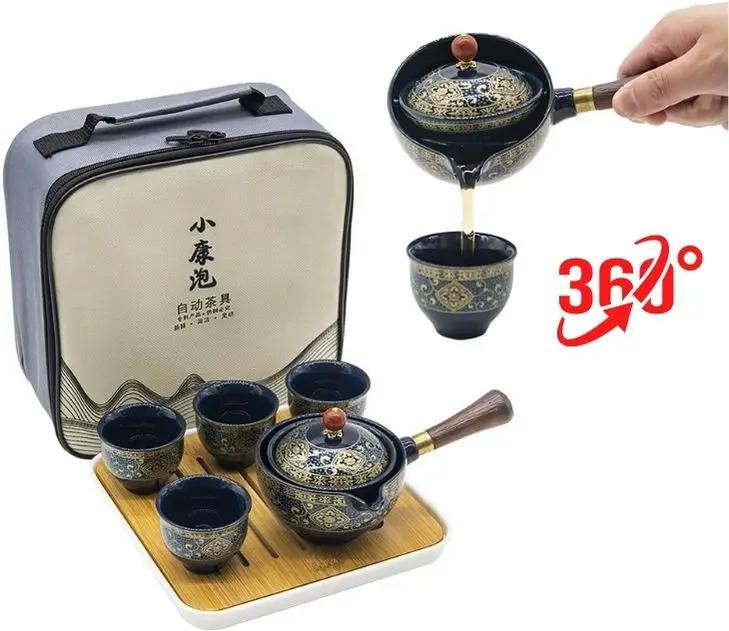
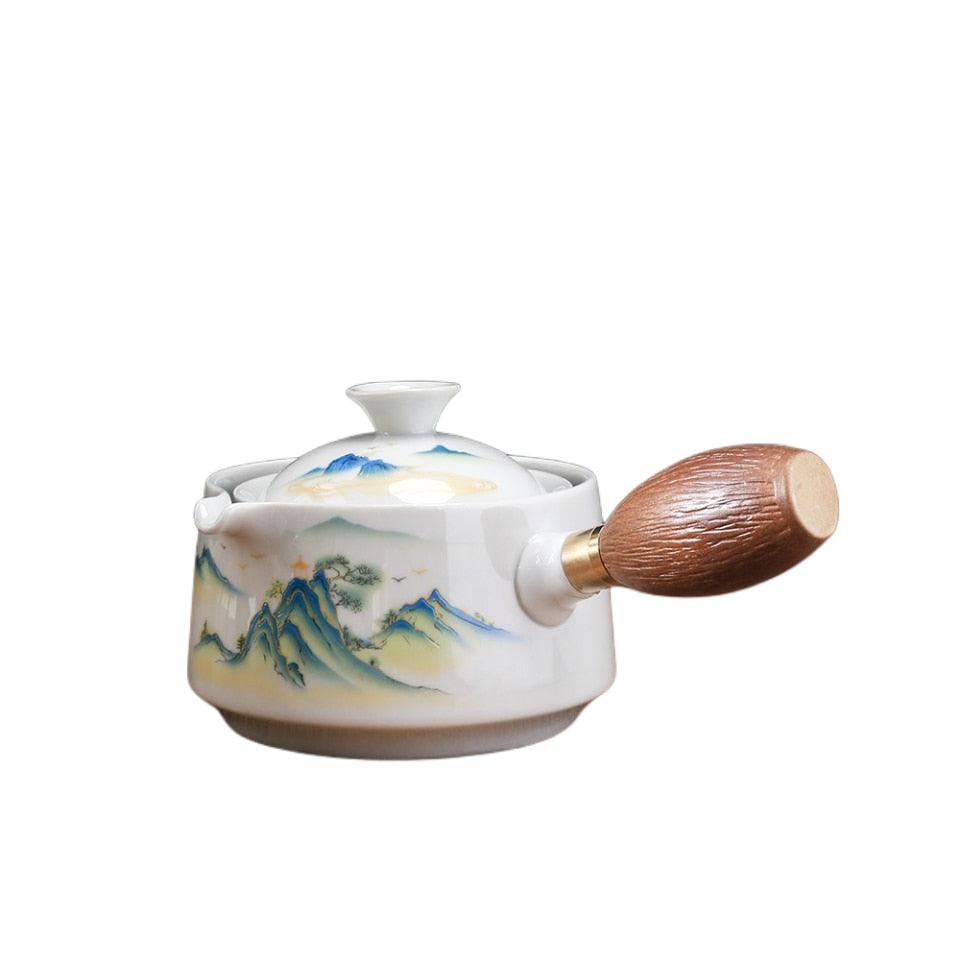
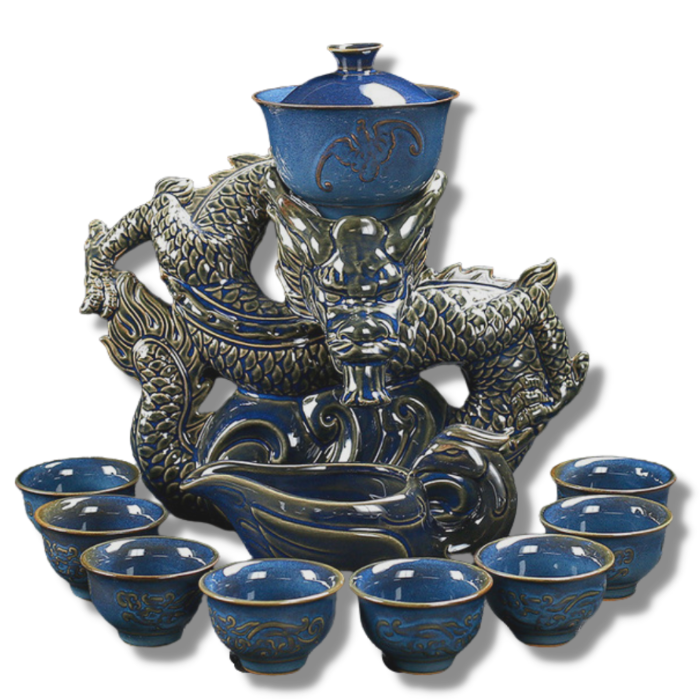 Chinesisches Teeservice
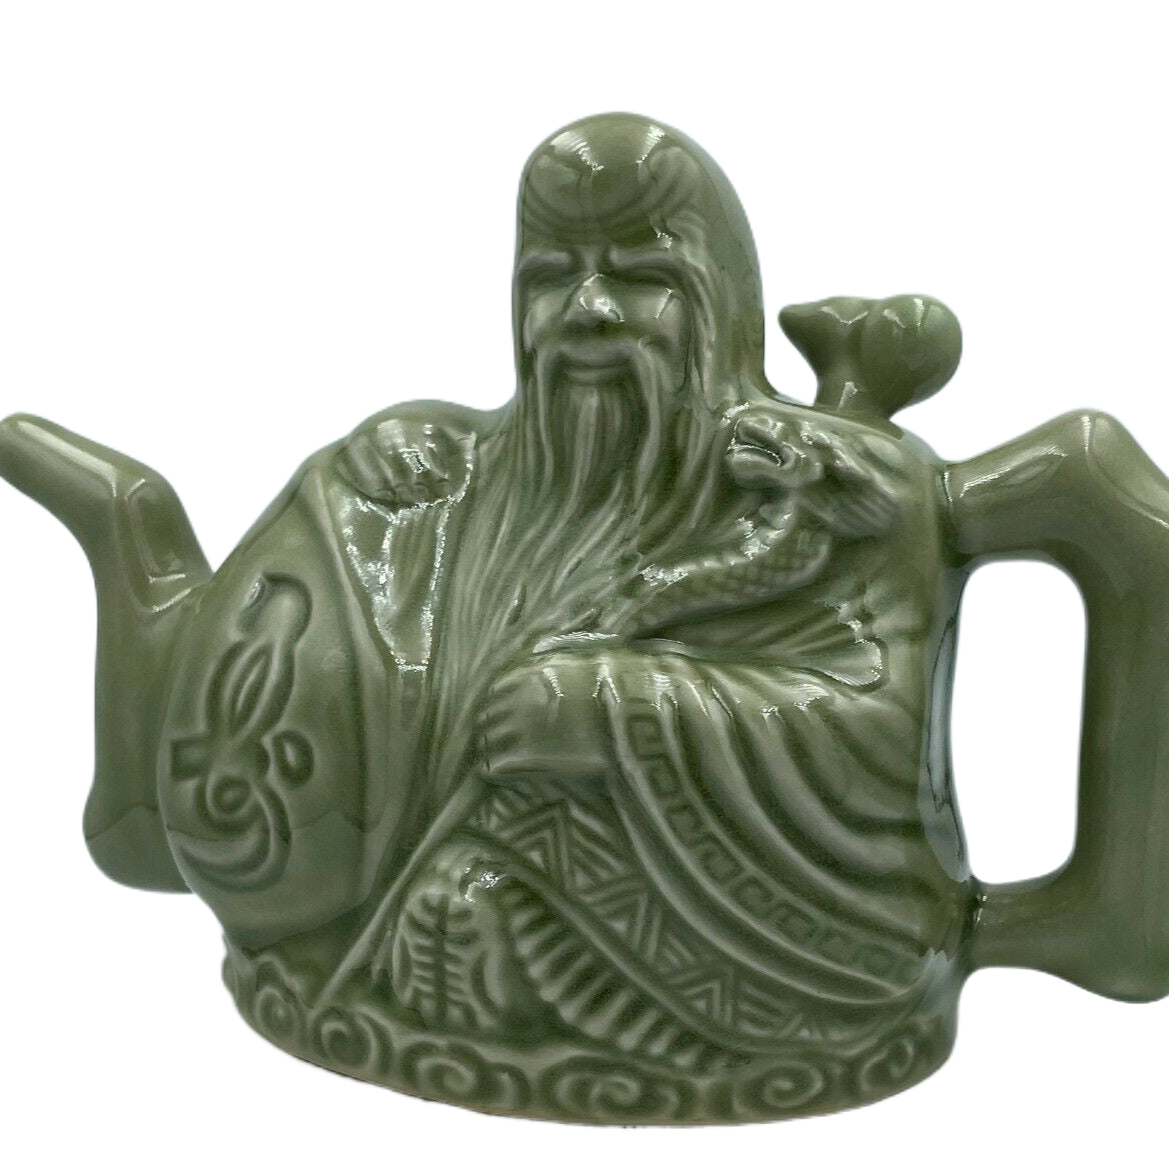 Chinesische Teekannen
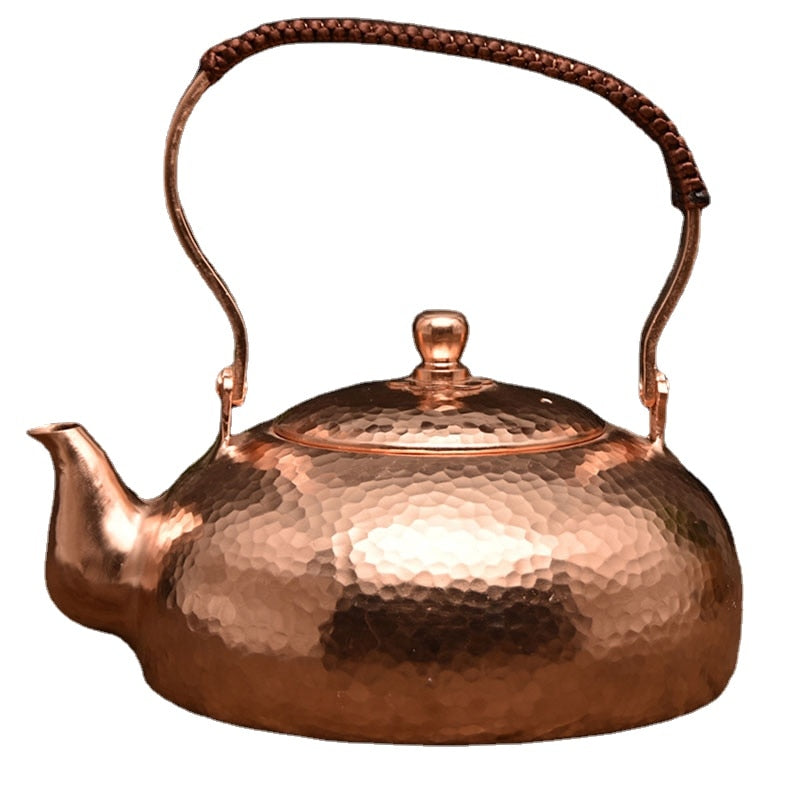 Teekessel aus Kupfer
 G Liebesspiel
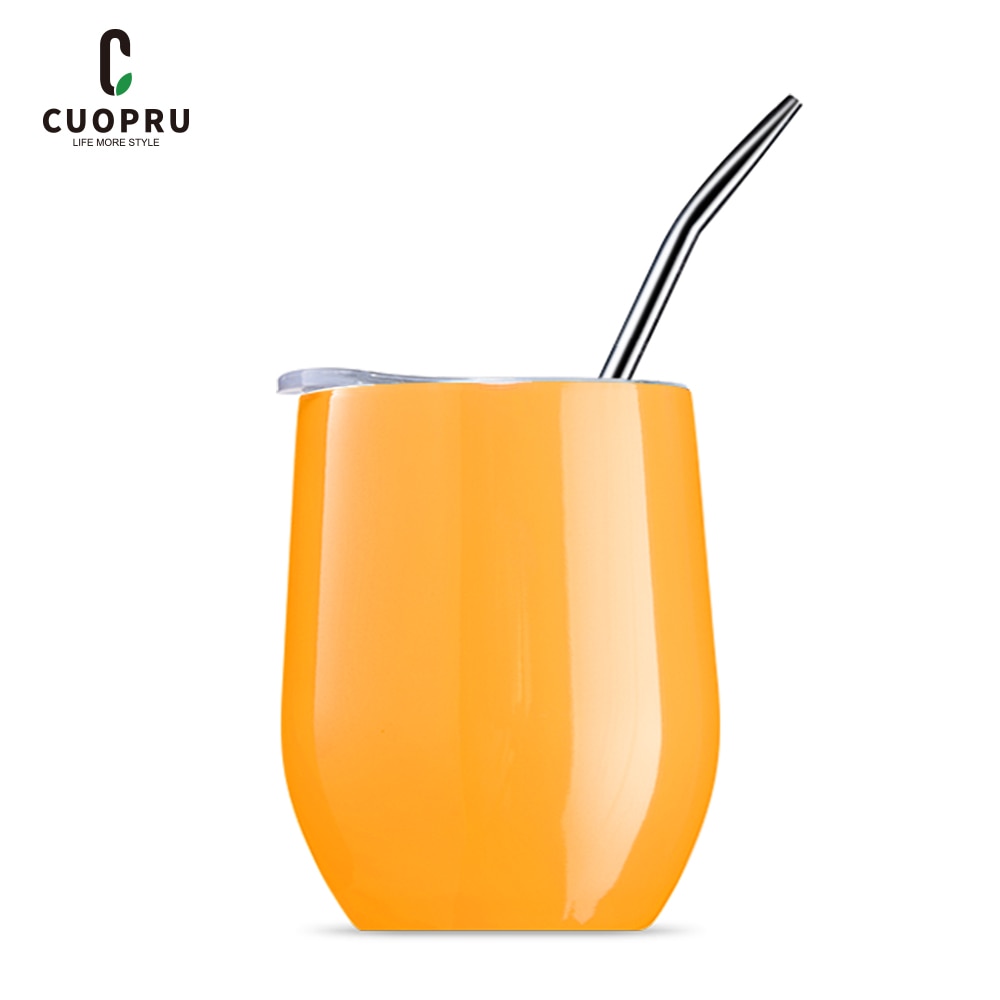 Mate Tee Becher
 Sake-Set
 Himmel
 Einzigartige Teesets für Erwachsene
 Yixing-Teekanne