Incense has been used in many cultures and religions for centuries, whether to honor deities, purify spaces, or simply create a pleasant ambiance.
But have you ever wondered how incense is made?
In this article, we will take you through the process step by step, from choosing the ingredients to shaping the final product.
Ingredients:
The first step in making incense is choosing the ingredients.
Most incense contains a mixture of aromatic herbs, spices, and resins.
Some common ingredients include:
- Frankincense
- Myrrh
- Sandalwood
- Cedarwood
- Cinnamon
- Cloves
- Rose petals
- Lavender
- Sage
Other materials you may need include bamboo sticks or charcoal disks, binding agents such as gum arabic or make powder, and essential oils for added fragrance.
Preparation:
Once you have your ingredients, it's time to prepare them.
Here's what you'll need to do:
- Grind the dry ingredients into a fine powder using a mortar and pestle or a spice grinder. The finer the powder, the better the incense will burn.
- Mix the powders together in a bowl, making sure they are evenly distributed. You may want to use gloves to avoid staining your hands.
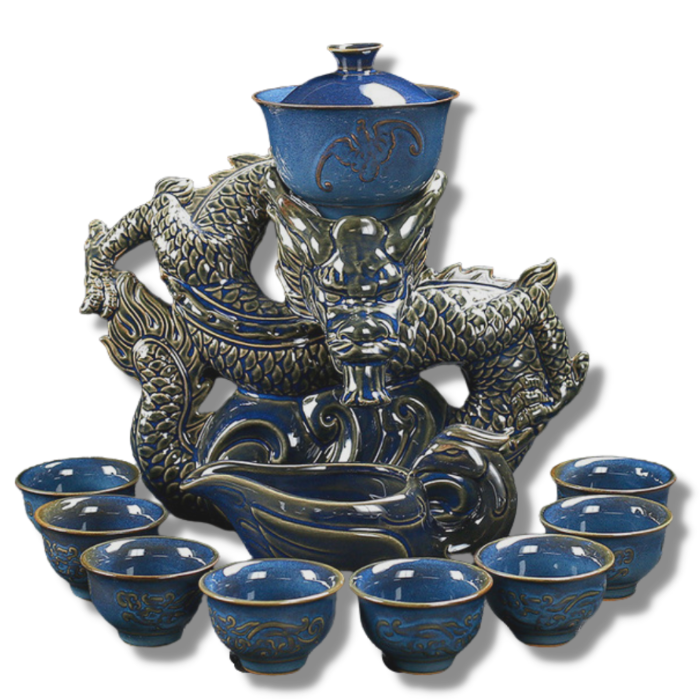
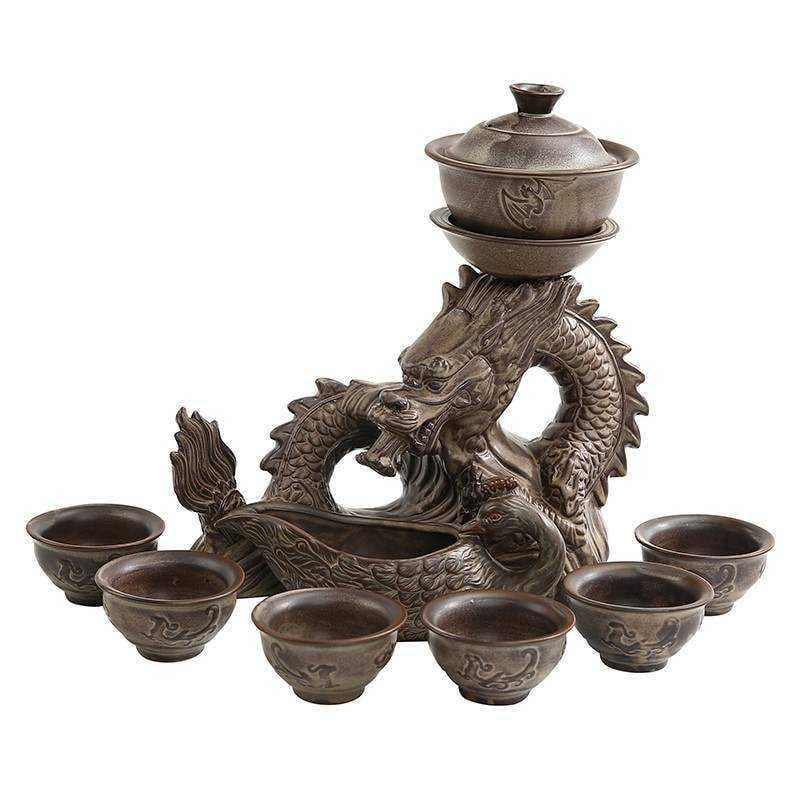
- Add any essential oils or liquid binding agents to the mixture and stir until well combined. This will help the dragon incense burner evenly and add extra fragrance.
- Gradually add a small amount of water to the mixture, mixing it with your hands until it forms a sticky dough. Be careful not to add too much water, as this can make the incense too wet and difficult to shape.
.
Shaping:
Next comes the fun part – shaping your incense!
Here are some common methods:
-
Hand-rolling:
Roll small pieces of the dough into thin sticks or cones using your hands. This is a great method for beginners, as it doesn't require any special tools.
-
Molding:
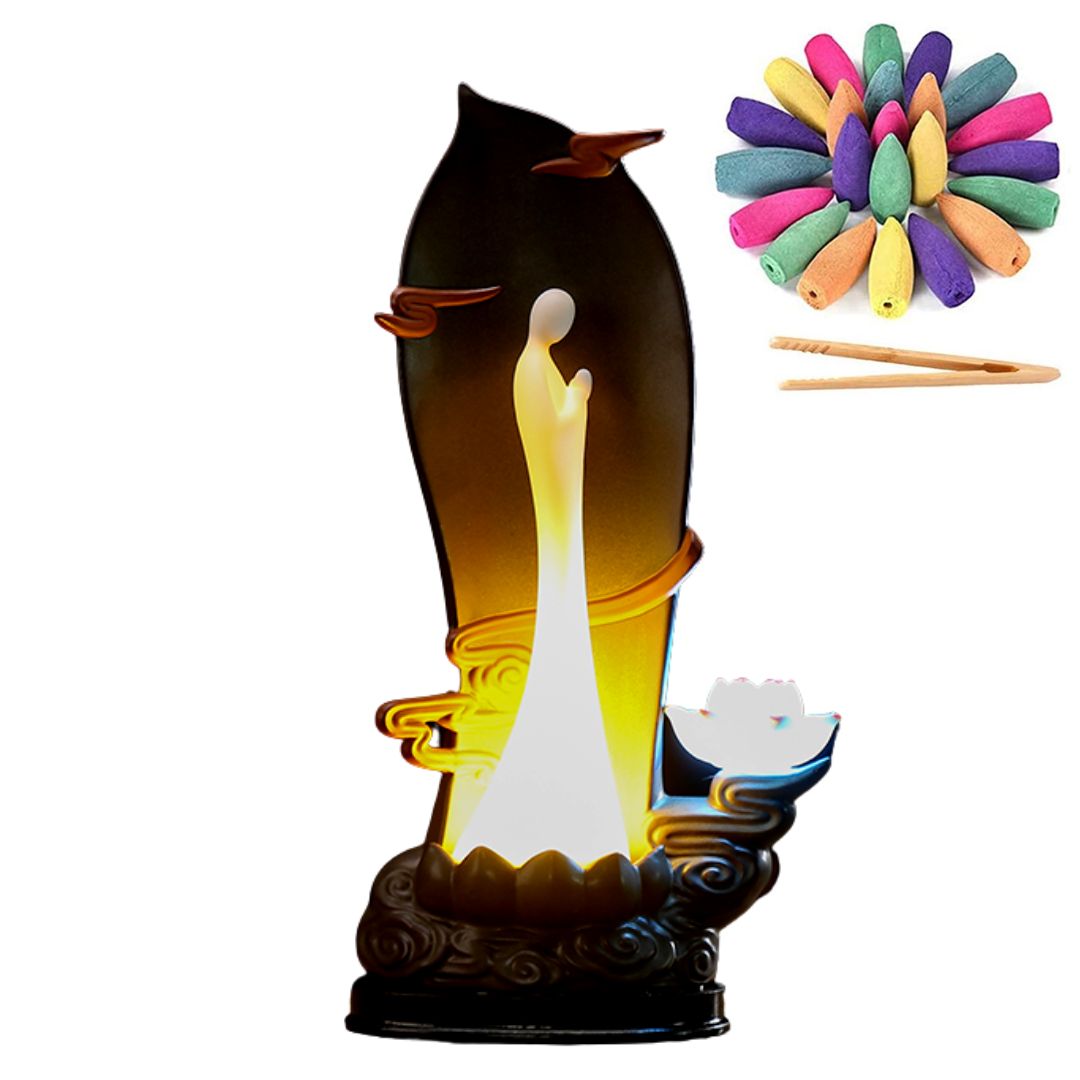
Press the dough into a mold or cookie cutter to create different shapes. This method is perfect for creating incense pyramids or other intricate shapes.
-
Incense sticks:
If you want to create stick incense, roll the dough around a bamboo stick and let it dry.
This method requires a bit more skill and practice but can result in beautiful, long-lasting incense.
.
Related: How Do You Burn Incense
Drying:
After shaping your incense, you'll need to let it dry.
This can take anywhere from a few hours to a few days, depending on the size and shape of your incense.
Here are some tips:
- Place your incense in a dry, well-ventilated area, away from direct sunlight and heat. This will help prevent the incense from cracking or warping.
- Turn your incense occasionally to ensure even drying. If you're making stick incense, you may want to prop them up at an angle to help them dry straight.
- Once your incense is fully dry, store it in an airtight incense fountain in a cool, dry place. This will help preserve the scent and prevent the Incense cone from becoming damp or moldy.
.
FAQs:
Q: Can I use fresh herbs instead of dried ones?
A: It's best to use dried herbs, as fresh herbs contain more moisture and can make your incense moldy.
Q: How long does homemade incense last?
A: Homemade incense can last for several months if stored in an airtight container in a cool, dry place.
Q: Can I add other materials to my cone incense, like glitter or dried flowers?
A: While it's possible to add other materials for visual effect, keep in mind that these may not burn evenly and can create a mess.
Q: Can I make incense without using charcoal or bamboo sticks?
A: Yes, you can make "loose" incense by simply burning the raw ingredients on a heat-resistant surface.
However, this method can be messier and less convenient than using sticks or cones in an incense holder.
Conclusion:
Making your own backflow incense cones can be a fun and rewarding experience, and allows you to create a unique scent that reflects your personal preferences.
By following these simple steps, you can craft your own incense from start to finish, using a variety of natural ingredients and shaping techniques.
Whether you're using incense for spiritual purposes, aromatherapy, or simply to create a cozy atmosphere, the process of making it yourself can add a special touch of creativity and mindfulness to your practice.
So why not give it a try and see where your imagination takes you?